How to Reset the Jeep Dashboard: Complete Guide to Warning Lights and Indicators

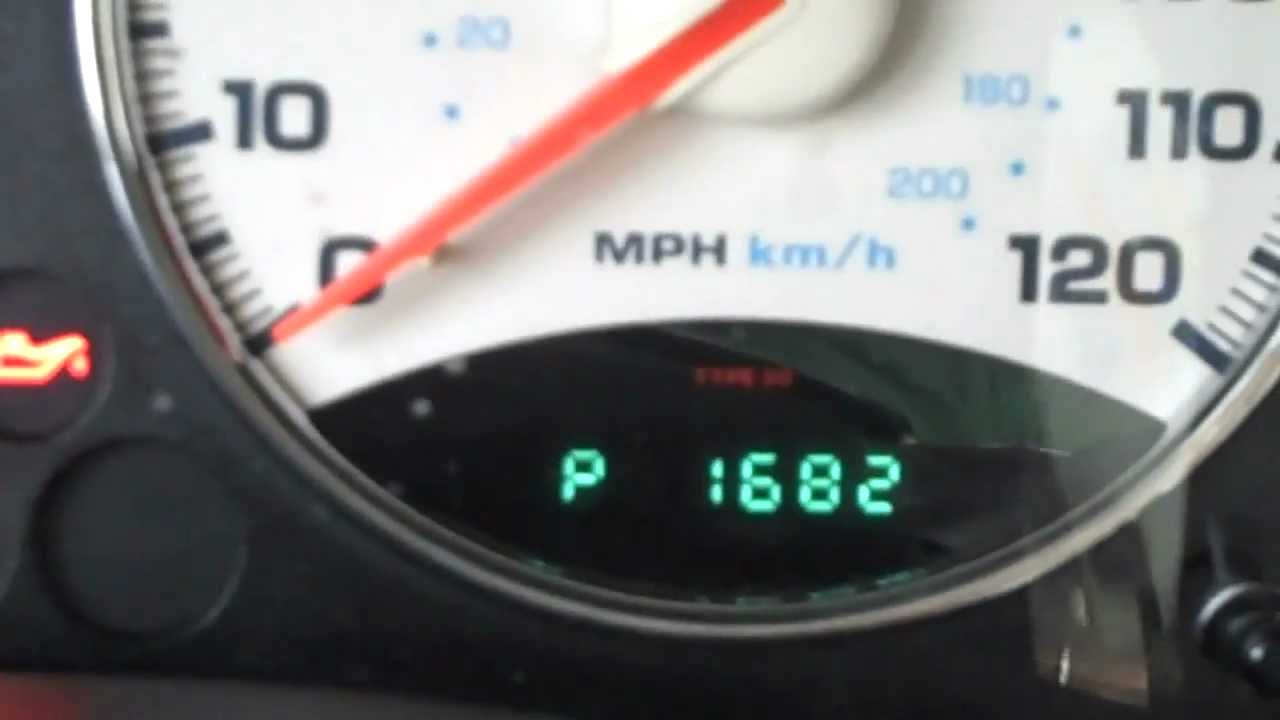
Your Jeep dashboard communicates critical information through lights, gauges, and digital displays. Learning to reset these systems puts you in control of vehicle maintenance and troubleshooting. Whether you’re dealing with service reminders, warning lights, or unresponsive gauges, this guide covers every reset scenario.
Understanding Jeep Dashboard Warning Lights
The triangle with an exclamation point is your master warning light. When it illuminates, it signals that at least one system requires attention. This indicator frequently appears alongside other warning symbols, giving context to what needs investigation.
Your oil pressure light displays an oilcan symbol. This warning demands immediate action—stop driving and check your oil level right away. Low oil pressure can destroy your engine within minutes. The battery symbol indicates charging system problems. Your alternator might be failing, or the battery terminals need cleaning. An overheating engine displays a thermometer icon or “Hot Coolant Temp” message.
Familiarizing yourself with these symbols prevents costly damage. Most symbols appear in your owner’s manual with detailed explanations for your specific model year.
Resetting Service and Oil Change Lights
Service lights remind you when maintenance is overdue. Jeep uses two primary methods for resetting these indicators, depending on your model year.
Pre-2022 Jeep Models
For Jeep Compass, Renegade, Cherokee, and Grand Cherokee (before 2022), the accelerator pedal method works quickly. Shift your vehicle into park on level ground. Turn the ignition to the “On” position without starting the engine. Fully depress the accelerator pedal slowly three times within 10 seconds, then return to the “Off” position. Wait several seconds and restart the vehicle to confirm the light has vanished.
If the light reappears after restarting, repeat the procedure. Some stubborn indicators require two or three attempts before clearing completely.
2022+ Jeep Models
Newer models integrate digital menus into the instrument cluster. Turn the ignition to the “On” position without starting. Use the arrow buttons on your steering wheel to navigate to “Vehicle Info” or “Oil Life.” Select the option that says “Hold OK to Reset Oil Life” and press the OK button. The display will show the reset process completing, returning the oil life counter to 100%.
This menu-based approach is more intuitive and prevents accidental resets when fumbling with pedals.
Performing a Soft Reset on the Uconnect System
The Uconnect infotainment system handles navigation, phone connectivity, and audio controls. Glitches occasionally freeze the display or cause audio dropout.
Insert your ignition key and turn to the “Run” position without starting the engine. Locate the volume button and tuner knob on your infotainment display—press and hold both simultaneously for 10-20 seconds. The screen will flash your Jeep logo, then go completely dark. After 5-10 seconds, the system reboots automatically and displays the Uconnect startup animation.
This soft reset preserves all personal settings, contacts, and custom preferences. Your saved radio stations, phone pairings, and navigation history remain intact.
Performing a Hard Reset on the Uconnect System
A hard reset restores the system to factory settings but erases all personalization. Only choose this option when a soft reset failed to resolve the problem.
Position your vehicle in park and turn the ignition to “Run.” Press and hold the temperature up and down buttons simultaneously for at least five seconds. A menu appears on the display—navigate to the reset option and confirm your choice. The system displays a countdown timer (usually 30 seconds) while it completes the reset process.
After the restart, reconnect your phone through Bluetooth, re-enter contacts, and reprogram radio presets. This thorough reset eliminates persistent software issues that refuse to resolve otherwise.
Resetting the Instrument Cluster Gauges
Your speedometer, tachometer, fuel gauge, and temperature indicator live in the instrument cluster. Occasionally, these gauges malfunction or display incorrect readings.
Gauge Test Cycle Method
Hold the trip meter reset button on your steering wheel and turn the ignition key three times rapidly between “Off” and “Run” positions—don’t start the engine. Your gauges will activate in sequence, moving from low to high to test proper function. The odometer may display diagnostic codes specific to Jeep systems, revealing cluster or airbag issues invisible to standard OBDII scanners.
This self-diagnostic test identifies problems early before they become serious safety concerns.
Battery Disconnect Method
Disconnect the negative battery terminal for 10-15 minutes. This clears the vehicle’s electrical memory and resets all electronic modules. Reconnect the terminal securely, ensuring it’s tight enough that it doesn’t wiggle.
The battery disconnect method is the most powerful reset available. Use this when other techniques fail or when multiple electronic systems misbehave simultaneously. Vehicle settings like radio presets and seat position memory reset to default, so you’ll need to reconfigure personal preferences afterward.
Checking and Replacing Instrument Cluster Fuses
Before assuming your cluster needs professional repair, inspect the fuses that power the system.
Locating Your Fuse Box
Pop your hood and locate the main fuse box on the driver’s side. The diagram on the fuse box cover identifies critical fuses. For most Jeep models, look for fuses labeled with gauge, cluster, or instrument panel references.
Jeep Grand Cherokee and Cherokee Fuse Numbers
M13 (20-amp), M15 (variable amperage), and fuses 84 and 88 control the Grand Cherokee instrument cluster. Test these fuses first for burn marks or internal breaks.
Jeep Patriot and Other Models
Fuse #14 (10-amp red fuse) powers the Patriot’s instrument cluster. Pull this fuse and inspect it under a bright light. Burnt fuses display dark discoloration or a broken filament inside the clear plastic casing.
Replace a bad fuse with an identical amperage rating from your dealer or auto parts store. Never substitute a higher-amp fuse—this creates fire hazards and allows electrical damage to spread throughout your vehicle.
Resolving Check Gauges and Master Warning Lights
The “Check Gauges” light indicates one or more readings fall outside normal parameters. This could mean low oil pressure, battery charging problems, overheating, or fuel system issues.
Step 1: Inspect All Gauge Readings
Look at your oil pressure gauge first. Readings should display in the normal range when the engine runs—not pinned high or low. Check your battery voltage gauge next. A healthy electrical system shows approximately 12.6 volts when off and 13.5-14.5 volts while running.
Temperature gauges should sit in the middle of the normal band. If your gauge approaches the red zone, your engine is overheating and requires immediate cooling.
Step 2: Check Fluid Levels
Pop your hood and verify the engine oil level using the dipstick. Withdraw the stick, wipe it clean, reinsert fully, and withdraw again for an accurate reading. The oil should touch the full mark. Low oil triggers both the check gauge light and dedicated oil pressure warnings.
Check your coolant level in the overflow tank. Fill it to the cold full line. Never remove the radiator cap while the engine is warm—boiling coolant causes severe burns.
Step 3: Inspect Battery Terminals
Battery corrosion creates charging system problems. Pop your hood and examine both battery terminals. Corrosion appears as white, blue, or green crusty buildup. Disconnect the negative terminal first, then the positive. Scrub the terminals and cable ends thoroughly with a wire brush or baking soda paste. Reconnect the positive terminal, then the negative, ensuring both are hand-tight.
Step 4: Reset the Warning System
After fixing the underlying issue, the light usually extinguishes on its own. If it persists, try disconnecting the negative battery terminal for 10-15 minutes. This clears stored fault codes from your vehicle’s computer.
For persistent warnings, an OBD2 scanner ($20-50 from any auto parts retailer) reads and clears the specific code causing the light. This diagnostic tool is invaluable for understanding what your vehicle’s computer detected.
Dashboard Reset After Electrical Work
Electrical projects like battery replacement or aftermarket component installation sometimes trigger cascading warning lights.
After replacing your battery, reconnect the negative terminal and start the vehicle. Let the engine idle for several minutes while the electrical system stabilizes. Drive normally for a week before worrying about residual warning lights. Many electrical glitches resolve themselves as the vehicle computer relearns operating parameters.
If warning lights persist, repeat the soft reset procedures for Uconnect and the gauge test cycle method. Multiple resets sometimes prove necessary after extensive electrical work.
Factory Resetting Your Grand Cherokee Display
Jeep Grand Cherokee models from 2014-2022 offer a factory reset option within the display menu system.
Start your vehicle and access the main infotainment screen. Navigate to “Controls” and select “Settings.” Scroll down until you find “Restore Settings” or “Reset.” Select this option and confirm your choice when the system asks for confirmation.
The display resets all customization options, theme selections, and display preferences to factory defaults. This resolves persistent software glitches without affecting core vehicle functions. Your saved contacts and phone pairings remain intact since they’re stored in the Uconnect system rather than the display preferences.
When Professional Help Is Required
Some dashboard problems exceed DIY capability. Cluster failures, internal wiring damage, and module-level issues demand professional diagnosis.
Visit a Jeep dealership if your cluster displays remain dark after multiple resets and fuse replacements. Instrument cluster replacement costs vary from $500-$2,000 depending on your model and whether the dealer installs new or refurbished units. Some dealerships cover cluster replacement under warranty if failures occur within the coverage period.
Persistent warning lights that reappear immediately after clearing indicate sensor failures rather than electrical resets. An OBD2 scanner identifies which sensor triggered the code. Oxygen sensors, oil pressure switches, and coolant temperature sensors fail occasionally and require professional replacement.
Professional technicians have diagnostic software unavailable to consumers. They access deeper fault codes, perform electrical testing, and identify module failures that trigger multiple warning lights simultaneously.
Preventive Maintenance Tips
Regular oil changes prevent the oil pressure warning from appearing. Most Jeeps run smoothly on synthetic oil changed every 7,500-10,000 miles. Follow your owner’s manual recommendations for your specific model.
Keep battery terminals clean and free from corrosion. Inspect them during oil changes. A corrosion-free battery minimizes charging system warnings.
Top off your coolant regularly, especially before winter. Low coolant creates overheating warnings and risks severe engine damage in cold climates where freeze-up occurs.
Replace your air filter and cabin air filter according to schedule. Dirty filters trigger various warning lights and reduce fuel economy.
Drive your Jeep regularly instead of letting it sit idle. Extended parking causes battery discharge and electrical system glitches. At least weekly drives maintain battery charge and keep modules functioning properly.
Addressing warning lights immediately prevents minor problems from becoming expensive repairs. What begins as a single light often escalates when ignored, affecting multiple systems simultaneously.
Your Jeep dashboard speaks a language of symbols and warnings. Learning to reset these systems and understanding what they mean keeps you informed and confident behind the wheel. Most resets happen in minutes without special tools or dealership visits. When professional help becomes necessary, you’ll understand the problem well enough to make informed decisions about repairs.