How to Jump Start a Mini Cooper: Step-by-Step Instructions for Any Model

A dead battery can strand you at the worst possible moment, but jump-starting your Mini Cooper is a manageable task when you know the right approach. Unlike many vehicles, Mini Coopers have specific terminal locations and safety considerations that make understanding the process essential before you begin.

credit: www.youtube.com/@PYR-Auto
Understanding Your Mini Cooper’s Battery Location
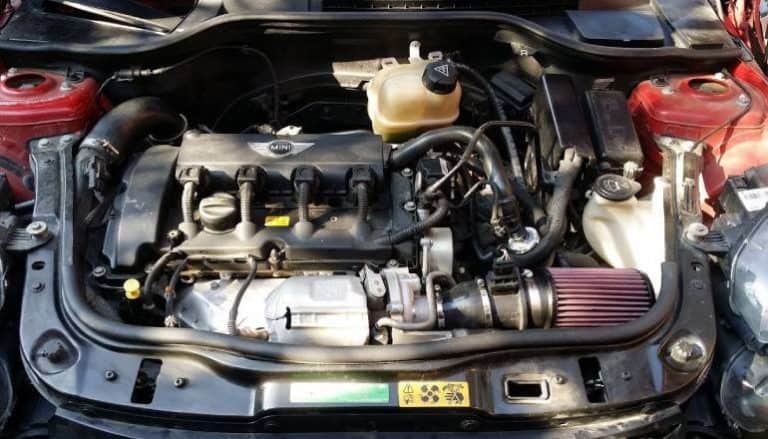
Mini Coopers differ significantly from conventional vehicles in battery placement. Depending on your model year and variant, the battery may be in the engine bay or, in some cases, inside the trunk. For R50 and R53 models (2002–2008), the battery is located in the boot behind the rear seat. For newer F-series models (2014 onwards), the battery sits in the engine compartment under a protective cover.
Open your hood using the release lever inside the driver’s side footwell. Pull it once, release it, then pull again. Once the hood is open, look for a black plastic cover on the driver’s side near the strut tower. This cover protects the positive terminal. Newer Mini Coopers clearly mark their jump-start terminals with a red cap over the positive connection.
Preparing for the Jump Start
Before connecting any cables, ensure both vehicles are turned off, and all ignitions are removed from both cars. Position the donor vehicle—the car with the working battery—close enough that jumper cables will reach both batteries. Ideally, the vehicles should be about two feet apart, positioned either parallel or nose-to-nose, without actually touching.
Gather heavy-gauge jumper cables (at least 4-gauge thickness for reliable power transfer) or have a portable jump starter on hand. Portable units offer advantages over traditional cables because they include built-in safety features that prevent reverse polarity damage, which is particularly important for Mini Coopers with sensitive electronics. If using a jump starter pack, verify it’s fully charged before starting.
Turn off all electrical systems in your Mini—headlights, radio, air conditioning, wipers, and any accessories. This prevents dangerous electrical surges when you connect the cables.
Connecting the Jumper Cables: The Critical Sequence
Cable connection order is non-negotiable. Mistakes here can damage your Mini’s engine control unit (ECU) and other sensitive electronics, so proceed carefully.
Step 1: Connect Red to the Dead Battery
Locate the positive terminal under the red cap on your Mini. Connect the red (positive) clamp of the jumper cables to this positive terminal first. Ensure the clamp is secure and won’t slip.
Step 2: Connect Red to the Good Battery
Move to the donor vehicle. Connect the other end of the red cable to the positive terminal of the working battery. Again, make sure the connection is tight.
Step 3: Connect Black to the Good Battery
Connect the black (negative) cable to the negative terminal of the donor vehicle’s battery. This is the critical grounding step.
Step 4: Connect Black to Engine Ground
Here’s where Mini Coopers diverge from standard vehicles. Do not connect the black clamp directly to the negative terminal of your Mini’s battery. Instead, connect it to an unpainted metal surface on the engine block or strut tower—avoid any plastic surfaces. Common grounding points include the engine mount bolt head or a bare metal spot on the engine block away from the battery. This prevents hydrogen gas buildup that could occur if you connected directly to the battery terminal.
Always double-check all connections are secure before proceeding. Loose clamps can create sparks and unpredictable current flow.
Starting the Engine
With cables properly connected, start the donor vehicle and allow it to run for 2–3 minutes. This gives the charging system time to build up reserve power in the jumper cables themselves before you attempt to start your Mini.
After this brief waiting period, attempt to start your Mini Cooper. Turn the ignition key and hold it in the start position for up to 10 seconds. Do not crank longer than this, as excessive cranking can damage the starter and drain the donor battery.
If your Mini doesn’t start on the first attempt, wait another minute and try again. Sometimes a second attempt succeeds after the additional charging time. If it still doesn’t start after 2–3 attempts, stop and wait 15 minutes before trying again. Repeated failed attempts indicate a deeper problem—possibly a bad alternator, parasitic drain, or internal battery failure—rather than simply a weak charge.
Disconnecting the Cables Safely
Once your Mini starts, keep both engines running. Remove the cables in reverse order of connection:
- Remove the black clamp from the unpainted metal grounding point on your Mini
- Remove the black clamp from the donor battery’s negative terminal
- Remove the red clamp from the donor battery’s positive terminal
- Remove the red clamp from your Mini’s positive terminal
This reverse sequence prevents electrical surges as each connection is severed. Keep the clamps separated so they don’t accidentally touch and create sparks.
Keeping Your Mini Running After the Jump Start
Drive your Mini Cooper for at least 15–20 minutes after a successful jump start. The alternator needs this running time to recharge the battery adequately. Short drives won’t provide sufficient charging time, and your battery may be dead again when you stop.
If possible, avoid turning off the engine immediately after starting. Head directly to a mechanic or auto parts store for a battery test if you suspect the battery is aging or if this is your second or third time jump-starting the same vehicle this season.
When a Jump Start Won’t Work: Troubleshooting
A jump start that seems to fail often points to issues beyond a weak battery. If your Mini turns over but won’t catch, or if it starts briefly then dies immediately, you likely have an alternator problem. An alternator that isn’t charging prevents the battery from remaining charged even after a successful jump start. Watch your headlights while the car is running—if they gradually dim, this confirms alternator failure.
Repeated jump-start requirements within a short timeframe also suggest parasitic drain. Something in the electrical system is drawing power even when the engine is off. Common culprits include faulty relays, stuck switches, or aftermarket accessories left plugged into always-on power outlets.
Mini Coopers are known for intricate electronics, and a battery that won’t hold a charge can sometimes indicate issues with the body control module, fuse relay, or charging system wiring. Corrosion in the orange-lidded junction box located in the boot (common on older models) can kill the alternator’s ability to charge effectively.
If your battery is over three years old, regular jump starts may indicate it’s time for replacement. Have the battery tested at a professional shop. An inexpensive battery test can identify whether the battery itself is failing or whether the issue lies with the charging system.
Alternative: Using a Portable Jump Starter Pack
For many Mini Cooper owners, a portable jump starter pack offers advantages over traditional jumper cables. These battery packs deliver sufficient power to start your Mini without requiring a second vehicle. They’re especially useful if you travel alone or live in an area where finding another car quickly isn’t practical.
Portable jump starters typically connect similarly to jumper cables—positive to positive, negative to a metal ground point—but with built-in protections against reverse polarity. Models from reputable manufacturers include spark-proof technology and can provide 20 or more jump starts on a single charge.
However, portable units must be maintained. Keep them charged regularly, especially if you haven’t used them in weeks. A discharged jump starter won’t help when you need it most. Traditional jumper cables, by contrast, never need charging and work regardless of how long they’ve been stored.
Critical Mini Cooper Safety Considerations
Mini Coopers contain sophisticated electronics tied to the engine control unit. Improper jump-starting creates a genuine risk of frying multiple systems at once. Some owners report needing $2,000+ ECU replacements after incorrect jump starts.
Never attempt to jump-start a Mini Cooper from another Mini Cooper unless absolutely necessary. The Mini’s alternator isn’t powerful enough to safely charge another vehicle while also maintaining its own systems. The battery light on your Mini’s dashboard serves as your guide—if it illuminates during another car’s attempt to use your Mini as a donor, disconnect immediately.
Avoid jump-starting a battery that appears frozen, swollen, or damaged. Attempting to jump a compromised battery can cause cracks or explosions. If your battery looks intact but won’t accept a charge, a professional battery test can determine whether replacement is necessary.
Preventing Future Dead Batteries
Test your battery every spring and fall, especially if it’s over three years old. Many auto parts stores offer free battery testing. Clean your battery terminals regularly to prevent corrosion buildup, which reduces charging efficiency.
Avoid leaving lights, radios, or accessories powered on when the engine is off. Ensure your alternator belt (serpentine belt) is tight and showing no signs of cracking—a loose belt won’t drive the alternator properly, preventing battery recharge.
Keep quality jumper cables or a charged portable jump starter in your trunk. The few dollars spent on prevention beats the stress and expense of being stranded with a dead battery and no way to recover it.