Jeep Compass Backup Camera Not Working: Complete Troubleshooting Guide

When your Jeep Compass backup camera fails, you lose one of the vehicle’s most critical safety features. A malfunctioning camera can create dangerous blind spots during reversing, making parking stressful and potentially hazardous. The good news: most camera failures stem from fixable problems you can diagnose yourself before investing in expensive dealer repairs.
| Preview | Product | |
|---|---|---|

|
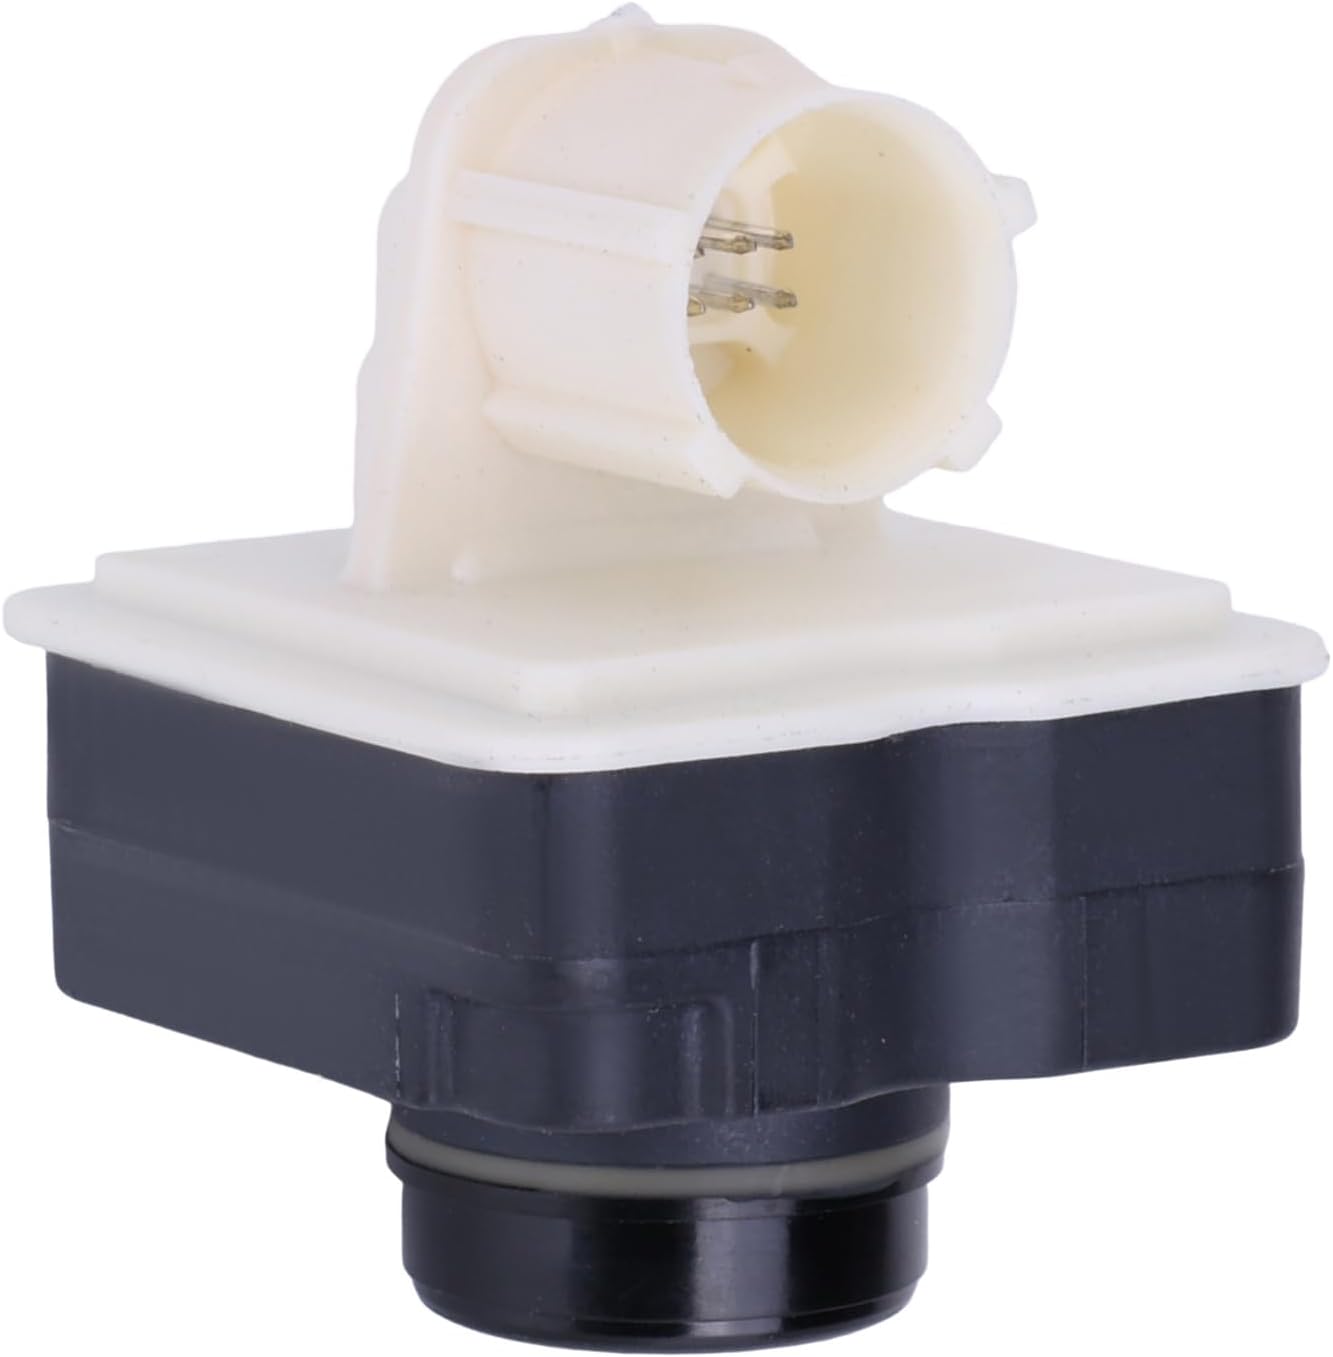
Backup Camera Replaces for 2017 2018 2019 2020 2021 Jeep Compass OE Part # 04672771AC 04672771AA… | Check Price |
Understanding Why Your Camera Went Dark
Your backup camera depends on three connected systems working in harmony: the camera module at the rear, the wiring that travels through your tailgate hinge, and the display screen connected to your infotainment system. When any link breaks, the image disappears.
Compass owners report three primary failure patterns. A completely black screen appears when you shift into reverse with no image at all. Intermittent performance means the camera works sporadically—sometimes showing video, sometimes showing nothing. Blurry or distorted images typically indicate lens contamination or moisture.
The most common culprit? A loose connector at your tailgate. Jeep Compass owners frequently discover that the electrical connection feeding the camera wiggles free due to repeated tailgate slamming. This connection carries both power and signal. Even slight movement prevents communication, triggering a black screen.

The Tailgate Connector Problem: Compass’s Most Common Issue
Your Compass likely experiences a specific connector problem that deserves detailed attention. The camera wiring plugs into the vehicle’s electrical system through an access panel inside your tailgate. With each door slam, vibration transfers through this connection point. Over months and years, this vibration causes the connector to gradually loosen.
Removing the tailgate access panel yourself takes approximately 20 minutes and costs nothing except your time. You’ll find the panel on the left side of your tailgate’s interior. It snaps out with careful prying—no screws required. Behind it sits the loose connector that likely caused your problem.
Here’s the remarkable part: simply reseating this connector with fresh dielectric grease—a silicone-based lubricant designed for automotive electronics—often restores full camera function. This explains why many Compass owners report instant success after this simple fix, while dealers often want to replace the entire radio unit.
Start Here: Quick Diagnostic Tests
Before removing any panels or ordering replacement parts, execute these three tests in sequence.
Battery reset comes first. Disconnect your negative battery terminal and touch it to an unpainted metal surface for 30 seconds. This fully drains the electrical system’s capacitors, forcing a complete reset of all modules, including your camera system. Reconnect the terminal and try the camera again. Surprisingly often, firmware confusion clears with this simple step.
Check your fuse next. Open your engine hood and locate the fuse box to the right of the battery. Find fuse F55 (a 10-ampere red fuse). A blown fuse appears blackened or has a broken filament inside. Replace it with an identical 10-amp fuse if needed. This single component often prevents the camera from receiving power.
Perform a hard Uconnect reset if you have the touchscreen system. Press and hold the power button (upper right corner of your screen) for 15 to 20 seconds until the entire system shuts down and restarts. This clears software glitches that sometimes block the camera feed from displaying.
One of these three steps solves approximately 40% of reported Compass camera failures. If your camera returns to normal, you’re done. If not, proceed to the next diagnostic layer.
Inspect the Tailgate Connection Yourself
Removing the tailgate access panel grants you direct observation of the problematic connector. You need nothing except a plastic pry tool or a credit card (metal tools risk damaging clips).
Locate the plastic panel on your tailgate’s interior left side. Press gently on the edges to find the release points. Most panels hold with four snap clips—one at each corner. Once you identify the clip positions, slide your tool gently between the panel and door to release each clip simultaneously. The entire panel pulls away freely once all clips release.
Behind the panel sits the camera harness. The connector looks like a small black plastic plug with a latch mechanism. Grab the connector body (not the wires) and wiggle it side to side. If it moves more than you’d expect, you found the problem.
Disconnect the connector completely. Inspect the metal pins inside for greenish corrosion or white oxidation. Use a pencil eraser or specialized contact cleaner to gently polish the pins until they shine. Never use anything abrasive enough to scratch the metal.
Apply a small amount of dielectric grease to each pin. This silicone-based compound (available at any auto parts store for under $10) protects against moisture and corrosion while ensuring solid electrical contact. Push the connector back in firmly until you hear it click. Insert the panel back into position and secure all four clips.
Test your camera immediately. If the image returns, secure your tailgate panel, and you’ve completed the repair.
Address Loose Wiring in the Tailgate Hinge
If resetting the connector didn’t work, inspect the wiring that runs through your tailgate hinge itself. This wiring moves constantly—every time you open and close your tailgate, the cable bends. Over time, this repetitive stress causes insulation to crack or wires to separate internally.
With the tailgate access panel removed, follow the camera harness from the connector back toward the hinge. Look for any visible cuts, fraying, or pinched sections. White or green discoloration indicates corrosion inside the insulation. Damaged sections typically occur where the cable transitions from the door’s static section to the moving hinge portion.
Minor cuts in the outer insulation can be temporarily sealed with electrical tape, but this represents a temporary workaround only. Permanent repair involves replacing the entire harness—something most owners delegate to a professional technician or dealership since running new wiring through the hinge requires specific knowledge of routing and securing procedures.
Moisture and Condensation Issues
Moisture buildup occurs frequently in humid climates or after parking in rainy and cold conditions. Water creeps into the camera lens itself, creating internal condensation that clouds the image or prevents display entirely.
Locate your camera at the vehicle’s very rear, integrated into the tailgate or rear bumper area. Inspect the lens for water droplets or fogging inside the clear plastic dome. If condensation exists inside, moisture has penetrated the seal.
Remove external moisture first. Use a clean microfiber cloth and a spray bottle with distilled water. Spray the lens to rinse away surface dirt, then dry thoroughly with the cloth using circular motions. Never rub a dirty lens with a cloth alone—dragging grit across the glass scratches it permanently.
If condensation persists inside the lens after a week of dry weather, the camera module likely needs replacement. Some owners attempt the “rice desiccant” method—placing the removed camera in a container of uncooked rice to absorb internal moisture. This occasionally works but succeeds unpredictably. Consider this your last attempt before professional service.
Preventing future condensation requires applying a hydrophobic coating to the lens surface. Products like Rain-X or Aquapel create a water-repelling layer that sheds moisture before it accumulates. Reapply this coating every three to six months for optimal protection.
Diagnose Software and Radio Issues
Jeep issued multiple software recalls affecting backup cameras on Compass models from 2021 through 2023. The radio software contained a bug that prevented the camera signal from reaching your display screen. You’d have a functioning camera and working hardware—but broken software blocking communication between components.
Determine if your Compass falls under this recall by visiting the NHTSA website (safercar.gov) and searching with your vehicle identification number. If a recall exists and shows “remedy available,” contact your Jeep dealership to schedule a free software update.
Even without a recall notice, your radio software may simply need updating. Access your Uconnect settings through the vehicle menu. Navigate to Settings, then System Information to view your current software version. Compare this to the latest version available on the NHTSA website or Jeep’s official support page. If your version is outdated, the dealership can update it in approximately 30 minutes.
Test Your Reverse Gear Safety Switch
The transmission must tell your vehicle’s computer you’ve shifted into reverse before the camera activates. A faulty reverse gear safety switch prevents this communication, resulting in a black camera screen despite the camera working perfectly.
This test requires a voltmeter and basic electrical knowledge. With your vehicle off, disconnect the negative battery terminal. Access the safety switch (location varies by model year—consult your owner’s manual). Set your voltmeter to the appropriate range and test for proper voltage readings.
If voltage readings fall outside the acceptable range, the switch has failed. Replacement involves disconnecting the electrical connector and unbolting the switch—typically a 10-minute job for experienced mechanics but a worthwhile project for DIY enthusiasts with electrical experience.
When to Replace the Camera Module Itself
After exhausting the preceding diagnostics, a defective camera module remains the final possibility. Signs of true camera failure include:
- Completely black display that persists after all previous tests
- Water or condensation is permanently trapped inside the lens housing
- Physical damage from accidents or impact
- Wires that flicker momentarily when wiggled (indicating internal corrosion within the camera)
Camera modules for Compass vehicles cost between $150 and $400, depending on the year and whether you source OEM or aftermarket units. Labor typically runs $200 to $400 at dealerships, sometimes less at independent repair shops.
Before ordering, verify your specific model year and trim level. The camera specifications changed between production years. Installing an incorrect unit creates compatibility problems with your infotainment system.
Preventative Maintenance Extends Camera Life
Protect your camera system through simple, regular habits. Clean your lens monthly using the water-spray-then-cloth method. Apply hydrophobic coating quarterly. Avoid power-washing the rear of your vehicle—high-pressure water forces moisture into sealed areas.
Minimize aggressive tailgate slamming. Close your tailgate deliberately rather than allowing it to fall or slamming it shut. This single habit dramatically extends the life of your connector and reduces vibration stress on internal wiring.
Check your camera monthly by shifting into reverse before leaving your driveway. Catch intermittent problems early while they remain connector-related rather than allowing them to progress to wiring damage.
When Professional Service Becomes Necessary
Diagnosing camera problems yourself saves money, but certain situations demand professional intervention. If your wiring shows damage beyond simple corrosion, replace it at a dealership or certified independent shop. If the reverse safety switch has failed, most owners benefit from professional diagnostics to confirm the diagnosis before paying for replacement.
Similarly, if your Compass is under warranty, take advantage of that coverage for any replacement parts. Camera modules represent a significant investment, and warranty coverage eliminates that cost entirely.
Final Thoughts: Your Camera Matters
Your backup camera prevents accidents by eliminating blind spots during the most dangerous driving operation—reversing. A non-functional camera creates safety risks that accumulate every time you park. Most Compass camera failures stem from simple issues—loose connections, software glitches, or dirty lenses.
Follow this guide systematically from the beginning. The battery reset or fuse check often solves the problem within minutes. If not, the tailgate connector diagnostic typically requires no special tools and takes 30 minutes. Only after confirming these simple solutions haven’t worked should you consider hardware replacement.
Your Compass camera system will likely respond to one of these proven fixes. Take the time to diagnose correctly, and you’ll restore this safety feature without unnecessary dealer visits or expensive replacement orders.